Accuracy at Every Turn
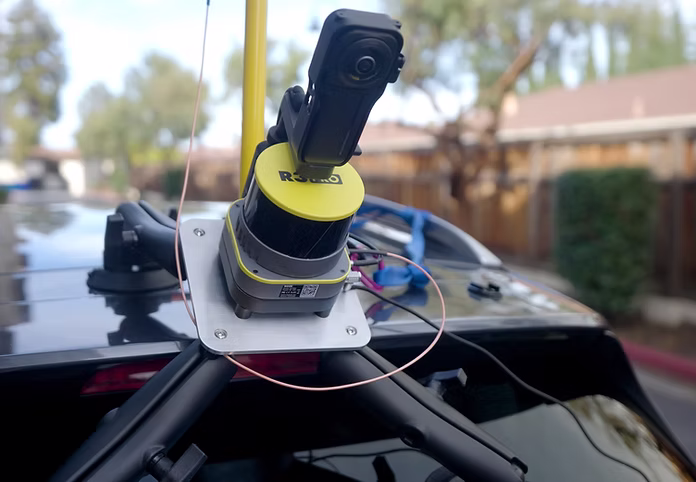
The essential tool for enabling mobile mapping with the ROCK SLAM Dock V2 & R3 Pro V2 LiDAR. Unlock colorized SLAM mobile mapping with a rugged, adaptable mount designed for reliability and speed.
Versatile Mounting
Easily attaches to most vehicles or boats with smooth, flat surfaces.
Enhanced Accuracy
Fixed lever arm antenna and stable platform for precise mobile mapping.
Rugged & Durable
Built for demanding field use with quick deployments and repositions.
Easy Integration
Seamlessly integrates with ROCK SLAM Dock V2 & R3 Pro V2 LiDAR.
The Trifecta of Mobile Mapping
Take a closer look at the solutions that make it possible.
Colorized SLAM LiDAR Data
Colorized SLAM combines trajectory and LiDAR with spherical imagery to deliver vivid, geospatially accurate mobile mapping results across corridors and complex environments.
View DatasetInstallation Instructions
Ensure a smooth and secure installation by following these steps:
Preparing the Mobile Mount
.avif)
Clean the surface where the mount will be attached to ensure a secure fit.
Attaching the SLAM Dock V2
.avif)
Attach the SLAM Dock V2 to the Mobile Mount using the screw attachment points.
Mounting the R3 Pro LiDAR
.avif)
Slide the R3 Pro onto the mount, align the pins, and secure with screws.
Attaching the Antenna
.avif)
Install the fixed lever‑arm antenna; handle RF cables with care.
Installing the Mobile Mount
_edited.avif)
Attach the mount to a clean, flat surface and ensure full suction.
Securing the Mobile Mount
.avif)
Use the safety strap to lock the mount tightly in place.
Powering Up with Battery
.avif)
Install your battery to power the device.
Ready to Mobile Map!
Verify stability and begin mobile mapping.
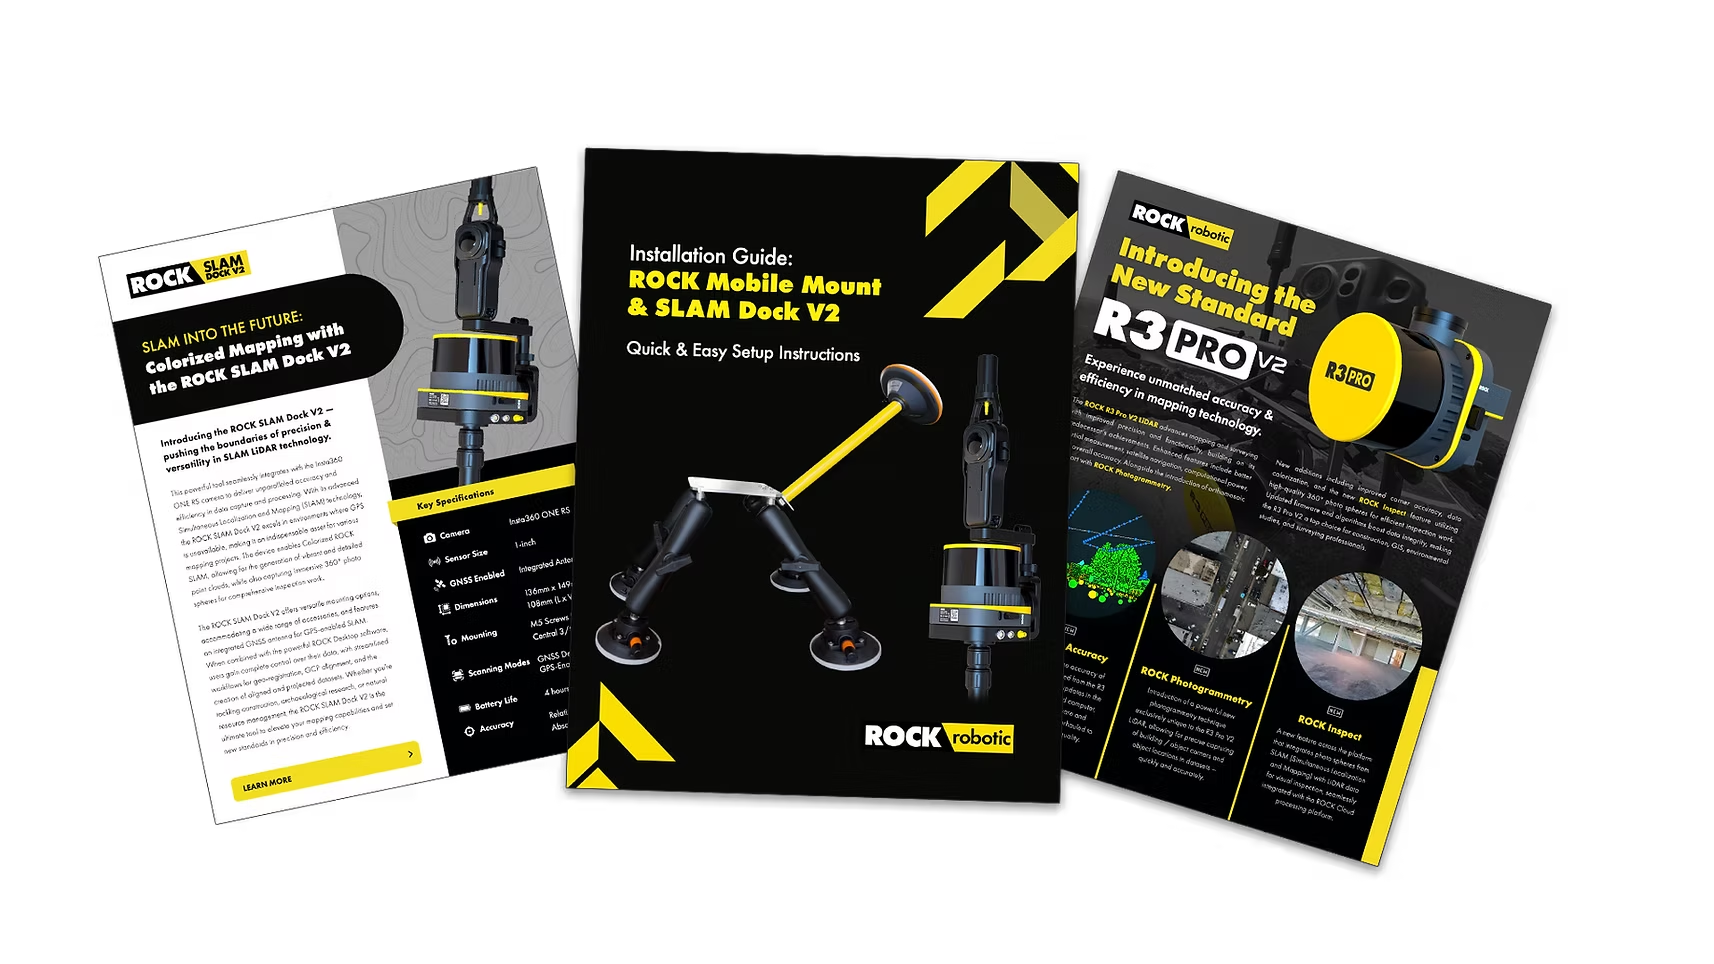
Helpful Resources
Download these PDF guides for additional information.
FAQs
What vehicles can use the ROCK Mobile Mount?
Any vehicle or boat with a smooth, flat surface. Clean and dry the surface for best results.
How do I secure the Mobile Mount?
Use the suction cups on a clean, flat surface and confirm the orange indicator shows full suction.
Is the Mobile Mount suitable for marine environments?
Yes. Its robust design is suitable for automotive and marine use.
What is the load capacity?
Engineered to support the combined weight of SLAM Dock V2 and R3 Pro V2.
How do I maintain the suction cups?
Clean with mild soapy water, avoid sharp objects/extreme temps, and store cool and dry.
Can it withstand environmental elements?
Designed for typical outdoor conditions; regular inspection and maintenance recommended.
Can I adjust the angle?
Yes. Adjustable legs and angles allow optimal alignment for various use cases.
What if the mount loosens?
Re‑clean the surface, reapply suction, and verify stability periodically during use.